

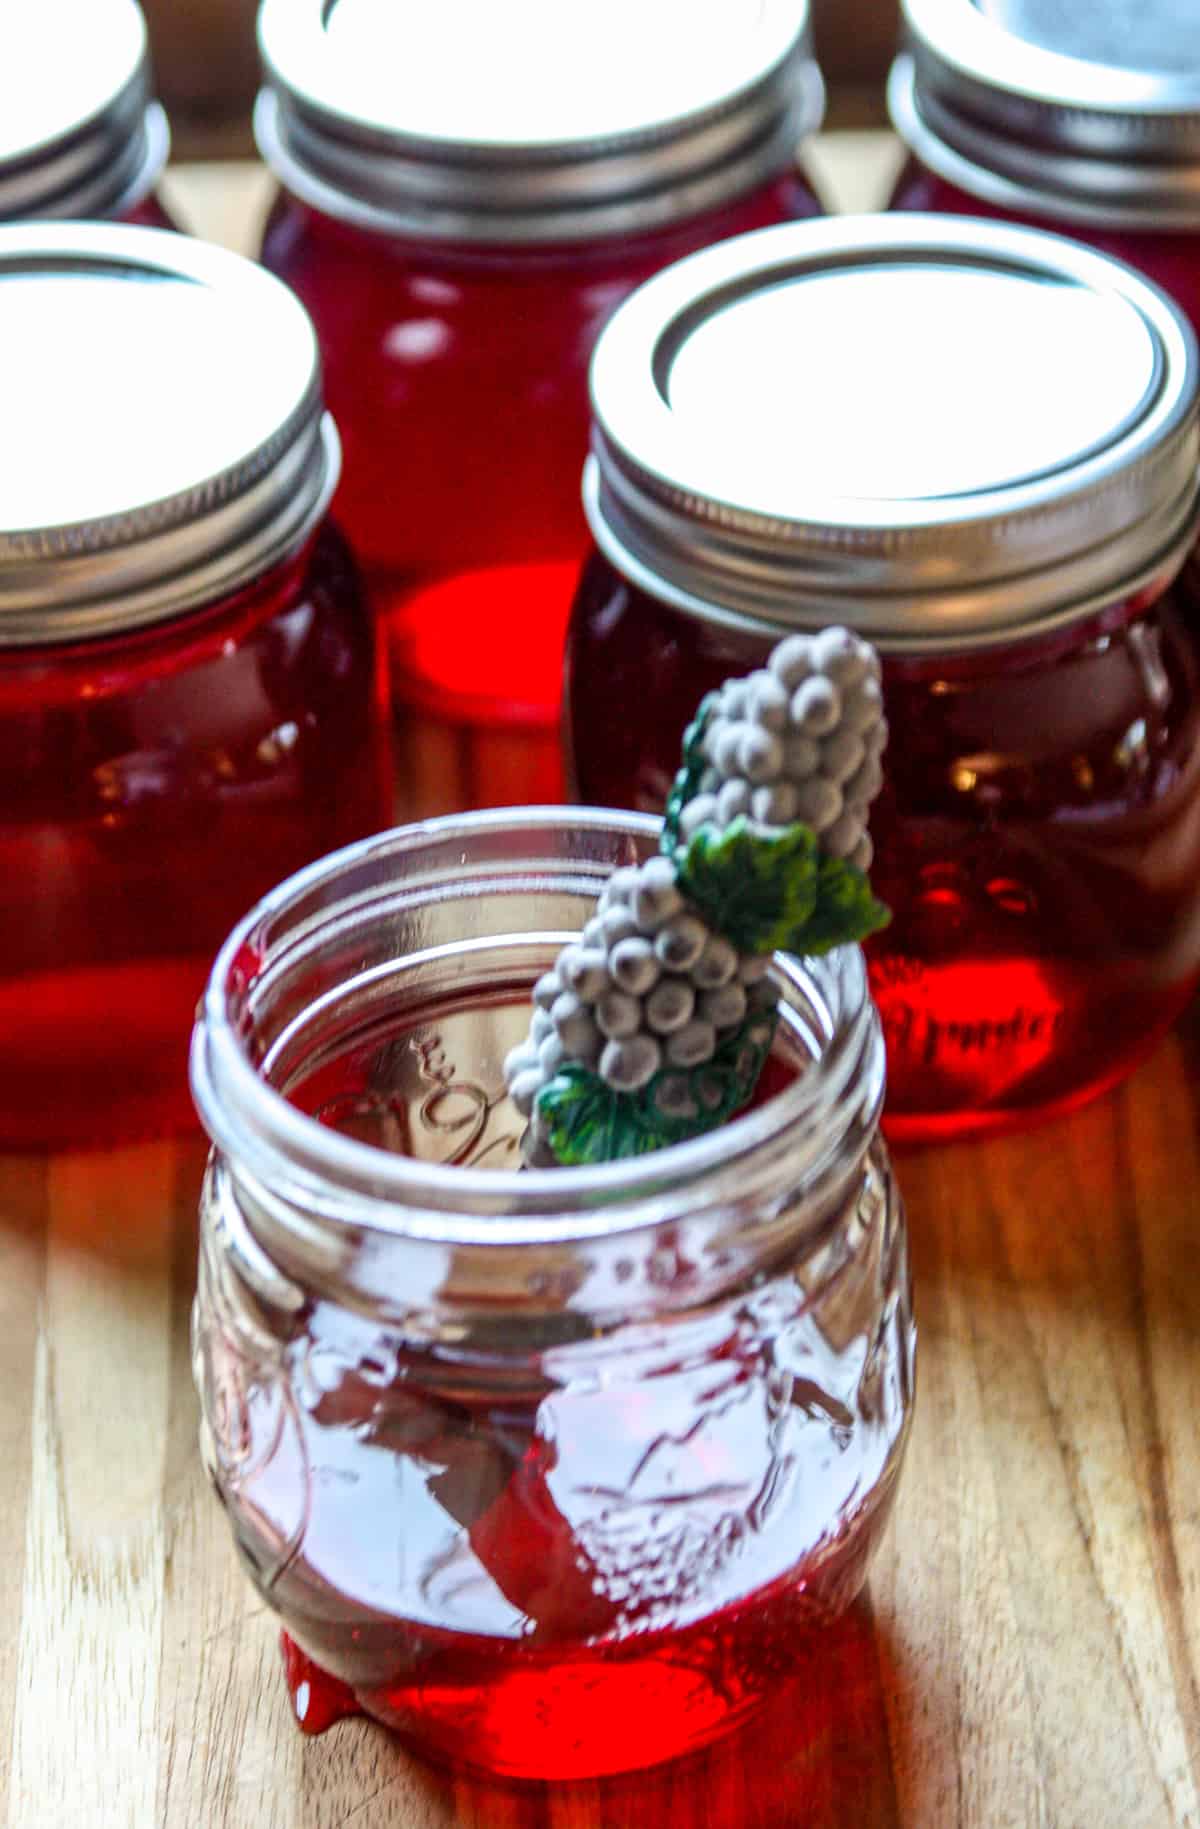
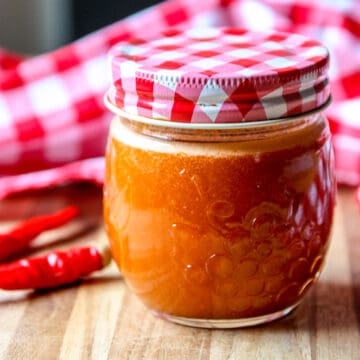
This Homemade Grape Jelly is easy to make and absolutely delicious. And homemade jelly from fresh grapes is much fresher and more delicious than store bought.
Want to save this recipe?
Enter your email & I'll send it to your inbox. Plus, get great new recipes from me every week!
If you have a grapevine, grape jelly from fresh grapes is a delicious way to use your harvest. But even if you don't have your own vines, when you can get your hands on newly harvested fresh grapes from farmer's markets or groceries, making your own jelly is a wonderful way to use them.
Jump to:
Why Make Your Own Jelly?
- Grape jelly from scratch tastes way better than store bought, and has no corn syrup or additives.
- You only need three ingredients for homemade grape jelly!
- Besides the passive waiting time for your juice to extract, the jelly takes just minutes to make.
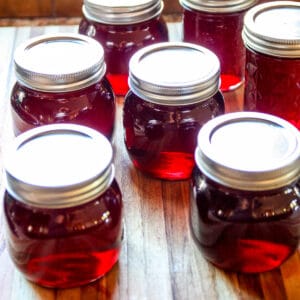
- Grape jelly is a delicious pantry item that stores for up to a year.
- Homemade jelly makes an always welcome edible gift around the holidays or as a hostess gift.
- Grape jelly is great to have around for toast, pancakes, sandwiches, and all your favourite recipes
What You Need
Our ingredients list is pretty simple!
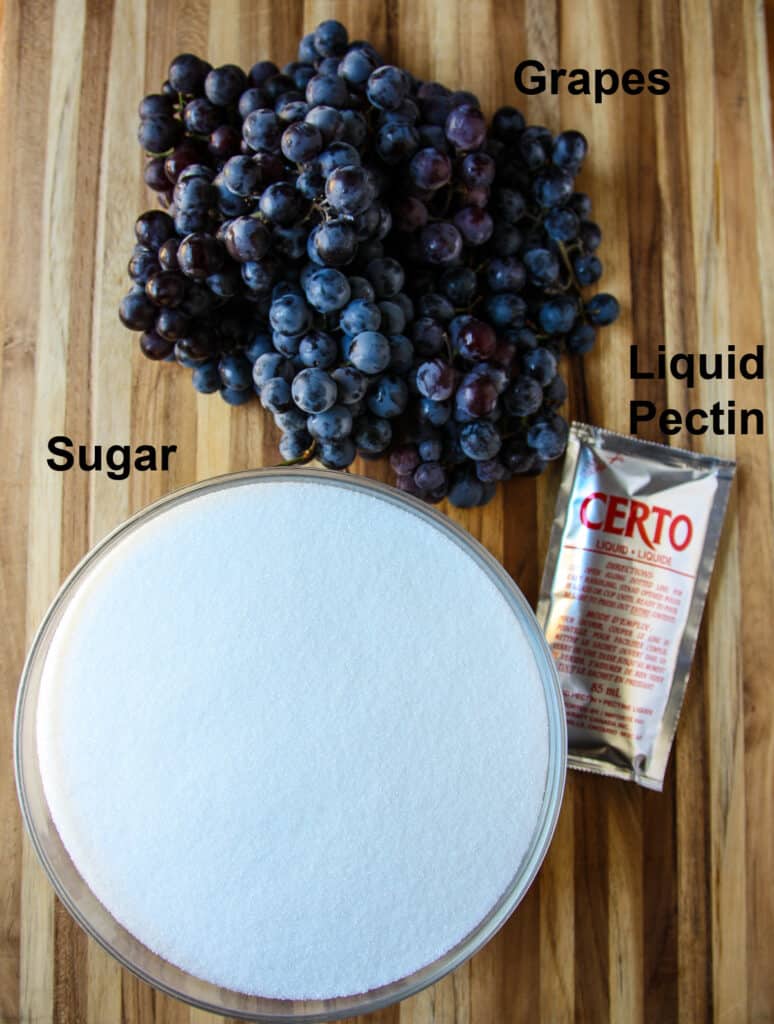
- Grapes Grapes are divided into two categories: Wine grapes and table grapes. Table grapes are commonly used to make jams and jellies, especially the popular Concord grape, which I am using here. However, virtually any red or purple grape variety can be used to make homemade jelly.
- Sugar Plain, granulated white sugar. Don't try to substitute another type of sugar, or any other sweetener for this particular recipe.
- Liquid Pectin This recipe needs liquid pectin. There are recipes using powdered pectin, but the two versions aren't interchangeable.
How To Make Grape Jelly
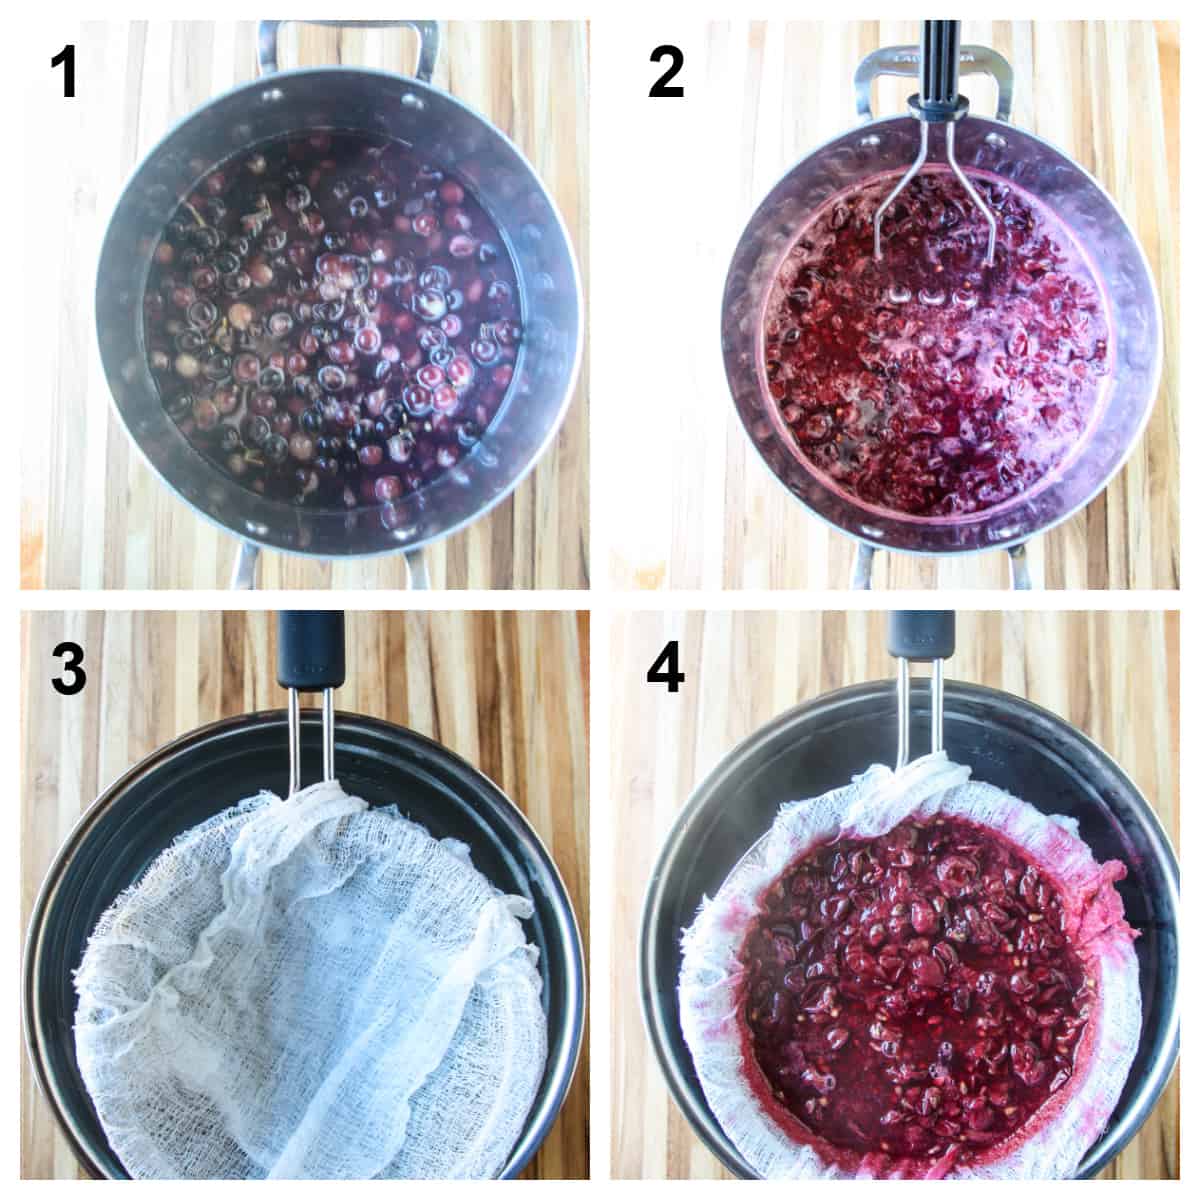
- After washing and stemming the grapes, combine them in a large, deep saucepan with two cups of water, and bring to a boil over medium high heat.
- Reduce the heat to medium and use a potato masher to crush the grapes while continuing to cook for a couple of more minutes.
- Line a sieve or strainer with cheesecloth, set over a deep bowl.
- Pour the grape mixture into the cheesecloth lined strainer. Let it sit for about 2 hours to allow the juice to extract. Don't press or squeeze!
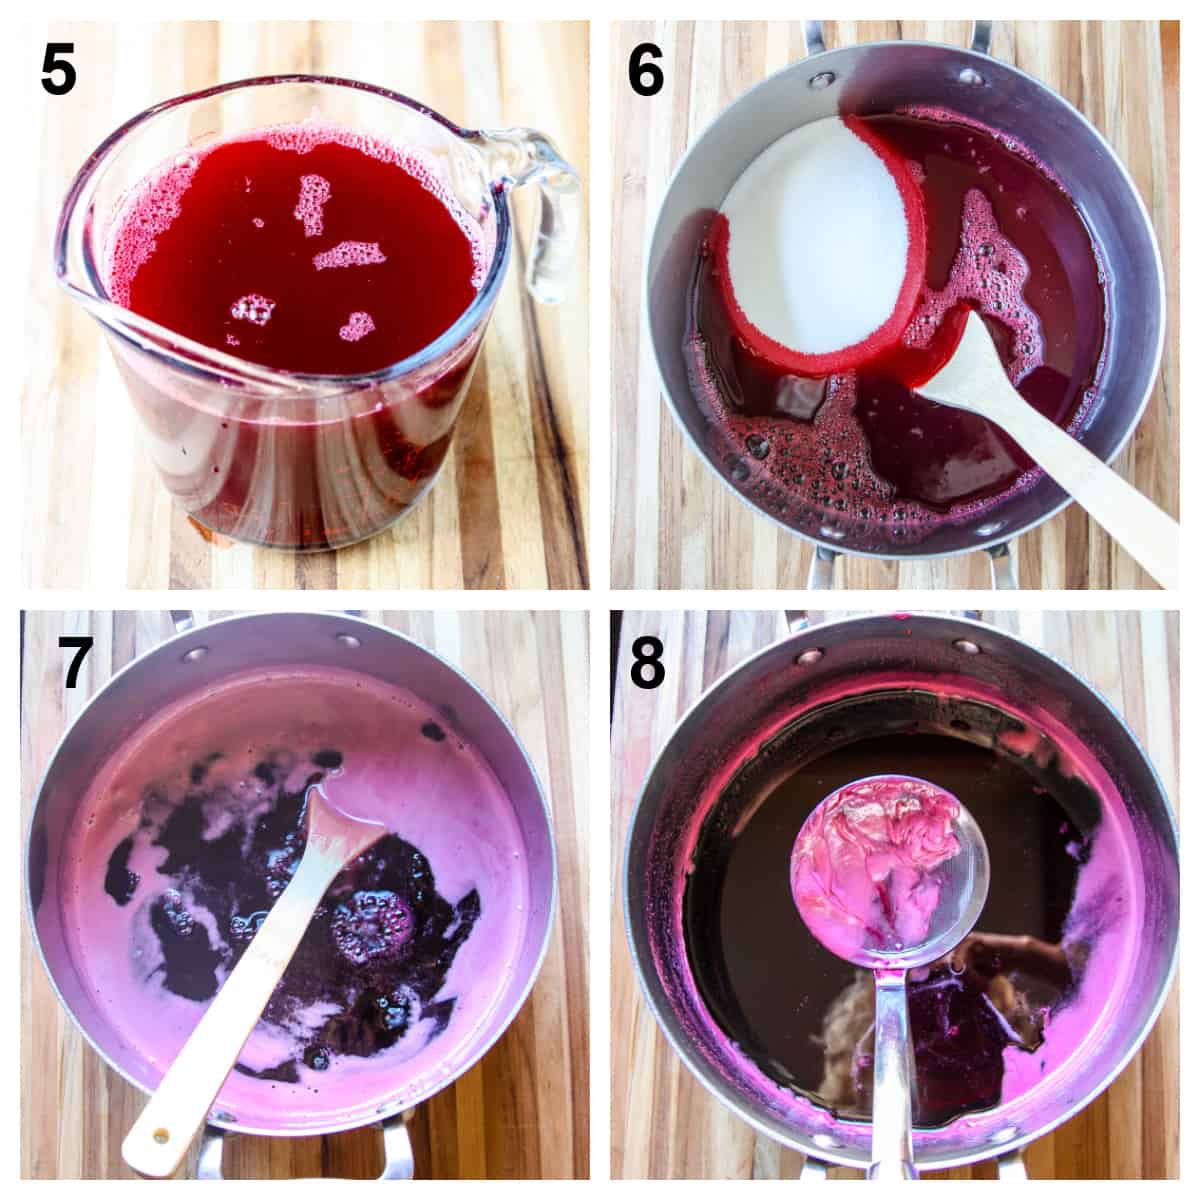
- You should have four cups of clear juice.
- Combine grape juice and sugar in a large, deep saucepan.
- Bring to a full, rolling boil over high heat, stirring constantly.
- Stir in the pectin. Boil hard for one minute, then remove from heat and skim off any foam.
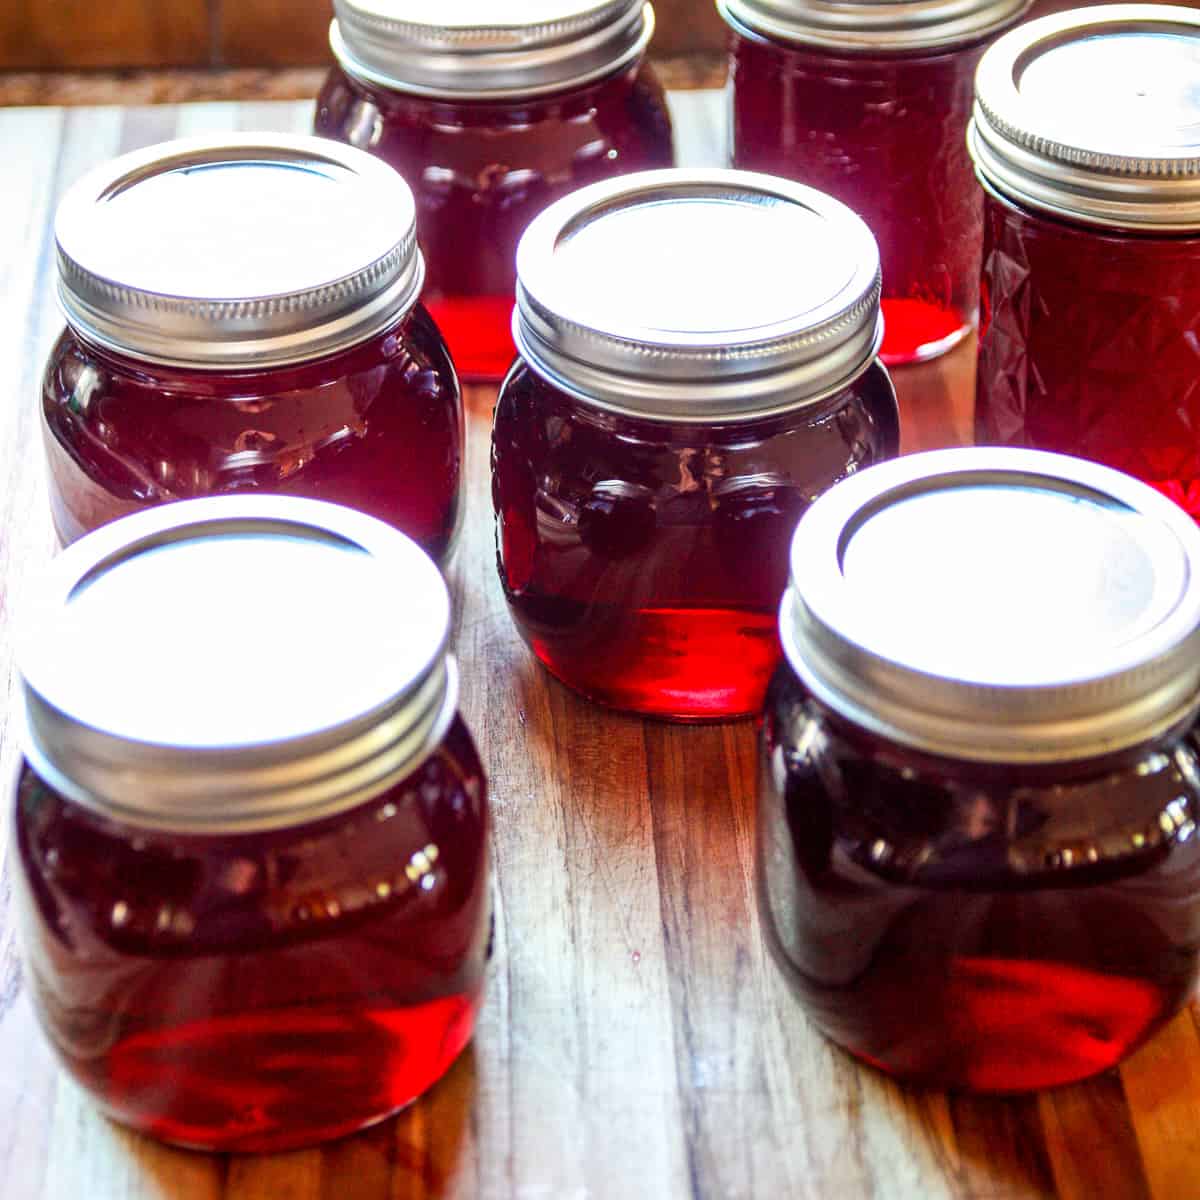
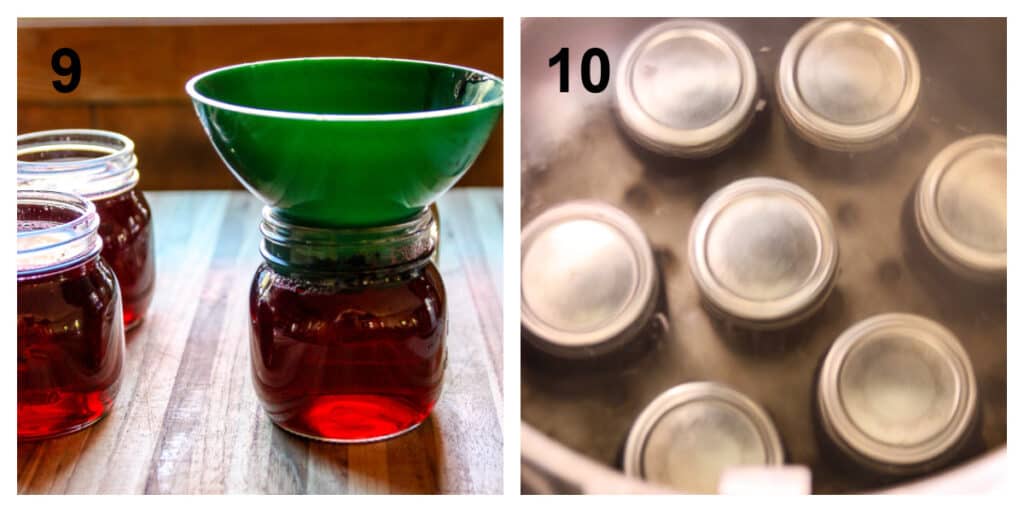
- Ladle jelly into prepared jars. Center lids on the jars and secure bands.
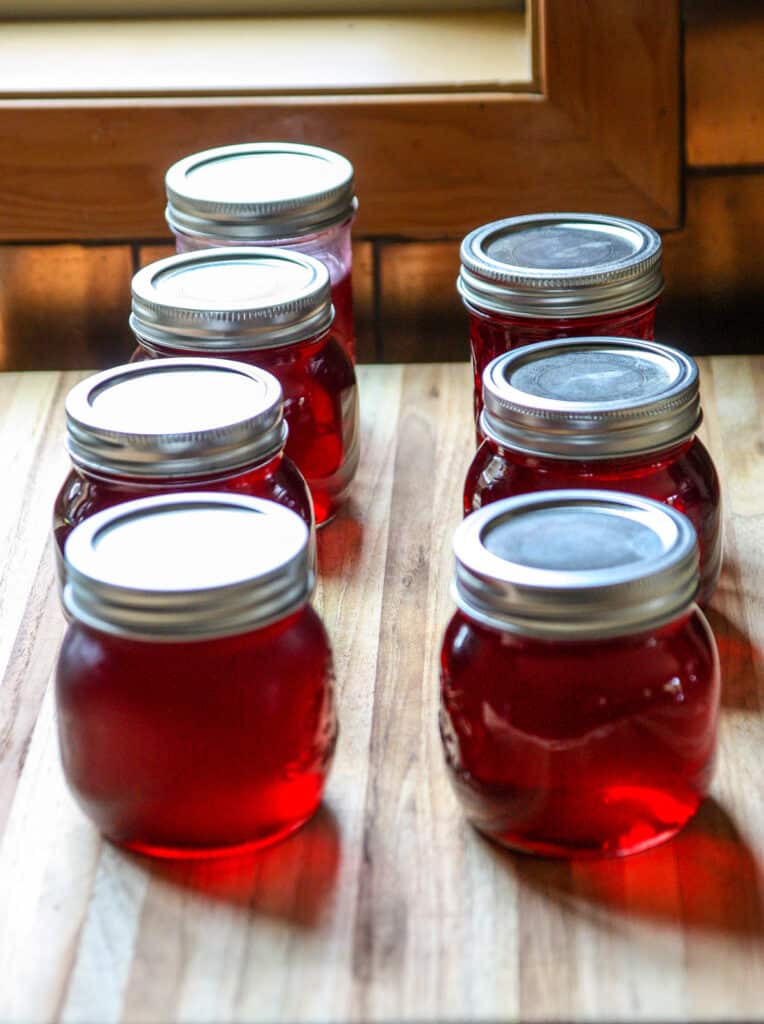
- Place jars in a boiling water canner for ten minutes. Remove the jars, allow to cool, ensuring they are sealed, and store.
Jelly Making Tips
- Check your Pectin Pectin has an expiry date and if you use expired pectin, there's a good chance that your jelly won't set.
- Follow the Recipe Many recipes are forgiving and you can put your own spin on them. Jellies and Jams are not those recipes. Many factors come into play and the recipe should be followed exactly.
- Don't Press or Squeeze When the juice is extracting from the fruit, patience is required. Never press or squeeze the fruit. This will result in cloudy jelly. We want it sparkling clear!
- Have Everything You Need clean and ready before beginning. Cut the opening of the pectin pouch and stand it up in a glass so that it's ready at hand.
- Use a Timer Boiling time, and processing time is everything here, so don't rely on the clock. Set your oven timer, phone timer or Google/Siri assistant.
- Inspect your Jars Canning jars are reusable, but check both new and used jars for cracks or chips. If there are any chips on the rims, the jars will not seal.
- Lids aren't Reusable Although the jars, as well as the screw bands are reusable, new lids must be used each time you make jelly, because they most likely won't form a seal the second time.
- Fill Jars with a Funnel A canning funnel keeps spills to a minimum and keeps the jar rims clean.
- Wipe the Rims Use a damp paper towel to wipe the rims of the filled jars before centering the lids on them. This will ensure they are clean and ready for a seal.
- Leave Headspace Fill jars to a ¼" to ½" of the rim. Less than that and you will risk an improper seal. Too much headspace can result in discolouration of the jelly.
Jelly Making FAQ's
You can make jams and jelly without pectin, like I do with this Rhubarb Jam - No Pectin recipe. Depending on the pectin level of the fruit itself, it can take some time. For this grape jelly recipe, pectin is required.
Processing jars of jelly in a water bath canner allows the jelly to be safely stored in the pantry until you want to use it. If you will be using it all right away (that's a lot of jelly!) there's no need to process the jars, simply store them in the fridge and use within three months.
Yes, you can make freezer grape jelly instead of canning it. Follow the recipe instructions up to step 10. Allow the jars to cool, ensuring they are sealed, and store in the freezer for up to a year. Defrost individual jars in the fridge.
Often, the jelly will set up as it cools, but can sometimes take up to a week to set.
There are many variables that come into play for homemade jelly to set. The recipe should always be followed exactly, a timer should be used, and the pectin used should not be expired. Sometimes, in spite of doing everything right, it just doesn't set. It happens to us all.
Yes, you can reprocess jelly that failed to set. You can find instructions to do it here: http://www.pickyourown.org/how_to_fix_runny_jam.htm
Equipment I Used For This Recipe
Much of the equipment that you need for making homemade jelly, jam and other canning is not expensive and it's reusable. Here are a few essentials.
A hot water bath canner is basically a large, deep pot with a lid and a rack in the bottom for the jars to stand on. If you have a pot that's suitable, and a rack that fits on the bottom you can use that. You can also purchase a rack separately to use in your own pot.
For jelly making, you will need either a jelly bag, or a sieve or strainer and some cheesecloth to extract the juice from the fruit.
A skimmer is very handy for easily removing foam, and works for lots of other cooking tasks, too.
Canning jars come in lots of sizes and they will come with lids, bands and labels when you buy them. The ones used in this recipe are half pint jars (8 ounce).
Liquid Pectin comes in 85 gram pouches.
There are a variety of tools that make things easier and safer. This canning tool kit comes with most of them. And it's inexpensive, too!
More Homemade Jelly and Jam Recipes
Now that you know just how simple and satisfying it is to make your own jelly and jam, you may want to try some of these delicious homemade jams and jellies, too.
- Apricot Jam Recipe with Liquid Pectin
- Spiced Plum Jam With Cardamom and Cinnamon
- Pepper Jelly Recipe
- Pear Jelly Recipe
Recipe
Want to save this recipe?
Enter your email & I'll send it to your inbox. Plus, get great new recipes from me every week!
Homemade Grape Jelly
Ingredients
- 2 lb red or purple-skinned grapes strained to make 4 cups of grape juice
- 7 cups granulated sugar
- 1 pouch 85 ml liquid pectin (3 oz)
Instructions
- Wash and stem grapes
- In a large stainless steel saucepan, combine grapes and 2 cups of water.
- Bring to a boil over medium-high heat, stirring frequently.
- Reduce heat to low. Use a potato masher to crush the grapes, and continue cooking for 2-3 minutes.
- Line a sieve or strainer with a couple of layers of dampened cheesecloth, set over a deep bowl.
- Pour the grape mixture into the cheesecloth-lined strainer and allow it to sit for about 2 hours for the juice to extract.
- You should end up with four cups of clear grape juice. If you don't get the required four cups, add a half cup of boiling water to your strainer.
- In a large, deep stainless steel saucepan, combine grape juice and sugar.
- Over high heat, stirring constantly, bring to a full rolling boil.
- Stir in pectin. Boil hard for one minute. Remove from heat and skim off any foam.
- Quickly pour jelly into sterilized jars, (eight 8 ounce jars) wiping the rims with a damp paper towel. Center lids on jars and secure rims to finger tight.
- Place jars in a boiling water canner for ten minutes.
- Remove jars, allow to cool, ensuring they are sealed, and store.
Notes
- Check your Pectin Pectin has an expiry date and if you use expired pectin, there's a good chance that your jelly won't set.
- Follow the Recipe Many recipes are forgiving and you can put your own spin on them. Jellies and Jams are not those recipes. Many factors come into play and the recipe should be followed exactly.
- Don't Press or Squeeze When the juice is extracting from the fruit, patience is required. Never press or squeeze the fruit. This will result in cloudy jelly. We want it sparkling clear!
- Have Everything You Need clean and ready before beginning. Cut the opening of the pectin pouch and stand it up in a glass so that it's ready at hand.
- Use a Timer Boiling time, and processing time is everything here, so don't rely on the clock. Set your oven timer, phone timer or Google/Siri assistant.
- Inspect your Jars Canning jars are reusable, but check both new and used jars for cracks or chips. If there are any chips on the rims, the jars will not seal.
- Lids aren't Reusable Although the jars, as well as the screw bands are reusable, new lids must be used each time you make jelly, because they most likely won't form a seal the second time.
- Fill Jars with a Funnel A canning funnel keeps spills to a minimum and keeps the jar rims clean.
- Wipe the Rims Use a damp paper towel to wipe the rims of the filled jars before centering the lids on them. This will ensure they are clean and ready for a seal.
- Leave Headspace Fill jars to a ¼" to ½" of the rim. Less than that and you will risk an improper seal. Too much headspace can result in discolouration of the jelly.

Lucy G. Davis says
I’m getting ready to make this recipe, but I want to know if I can extract the juice this afternoon and refrigerate it until tomorrow when I have more time to make the jelly?
Thank you
Colleen says
Hi Lucy, Thanks for this question. Yes, you definitely can do extract the juice and refrigerate until tomorrow.
Elizabeth Simmers Simmers says
This is my first time making jelly can I use sure jelly instead of the liquid pectin?
Kristina says
I have leftover grape juice and don’t have anymore pectin. Can I refrigerate the juice and use tomorrow?
Colleen says
Hi Kristina, thanks for this question. Yes you can use it the next day.
Linda Phillips says
Very easy to make & delicious to eat! Thank you.
Colleen says
Hi Linda! I'm so glad you found this grape jelly easy to make and delicious. Thank you so much for commenting!
Sue says
Do not reduce the sugar because when I had the jelly was watery. Next time if I would reduce again I can see now I should have added much more pectin which should thicken it.
Sonia says
Hi! I made grape jelly for the first time using this recipe. It was very easy to follow, thank you! It was very very sweet though, can I refuse the amount of sugar? Also, I used regular lids, not canning lids, is that ok? Thanks!
Colleen says
Hi Sonia, I'm so happy that you found the recipe easy to follow! The sweetness can vary depending on the sweetness of your grapes. You can try to reduce the sugar, but I can't guarantee that it will set, and I would love for you to comment on how it turns out. As for lids, they need to form a vacuum seal, if you want the jelly to be shelf stable. For food safety it is recommended that two piece canning lids be used, according to the National Centre for Home Preserving. Thanks for your feedback. Enjoy your homemade jelly!
Kelly Russell says
I'm going to make this jelly but 4c =4 8oz jars... Or am I missing something? Recipe says 8- 8oz jars. Looking forward to it!!
Colleen says
Hi Kelly, When all of the sugar dissolves during the cooking process, it will result in that much extra liquid besides just the grape juice. Happy jelly making!